I still remember the first time I tried cloisonné wire enameling; I was hunched over my workbench at 2:00 AM, squinting through a magnifying loupe while my hands shook like a leaf in a storm. The smell of the kiln’s heat was heavy in the air, and I had just spent three hours meticulously placing tiny silver filaments, only to watch a single, clumsy drop of enamel flood the entire design. It felt like a total disaster, but looking back, that messy, frustrating moment taught me more about tension and flow than any sterile textbook ever could.
Forget the polished, perfect tutorials that make this craft look like a breeze—they’re lying to you. I’m not here to give you a sanitized, step-by-step guide that ignores the actual grit of the process. Instead, I’m going to share the real-world mechanics of working with wire and glass, focusing on the mistakes I actually made so you don’t have to. We’re going to strip away the fluff and get straight into the honest techniques that actually turn a pile of metal and powder into something breathtaking.
Table of Contents
Precision in Motion Fine Wire Cell Creation
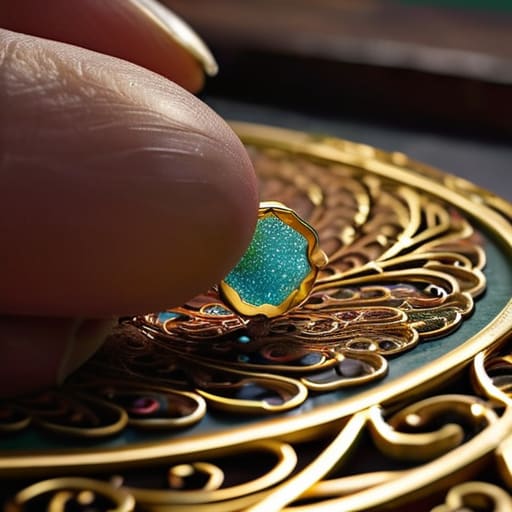
This is where the real magic—and the real frustration—begins. Before you even touch a piece of wire, your metal substrate preparation has to be flawless. If there’s even a microscopic trace of oil or oxidation on that copper or silver base, your cells won’t bond, and you’ll be left staring at a mess. Once the surface is pristine, you start the delicate process of fine wire cell creation. You aren’t just laying down metal; you are mapping out the very soul of the piece.
I always tell beginners to treat the wire like a living thing. You’re using a tiny stylus to bend and tuck these filaments into place, creating those tiny, intricate compartments that will eventually hold the color. It requires a steady hand and a ridiculous amount of patience. If your walls are too thick, you lose the elegance; if they’re too flimsy, they’ll buckle under the heat. You’re essentially building a microscopic labyrinth that dictates exactly how the light will dance through the glass later on.
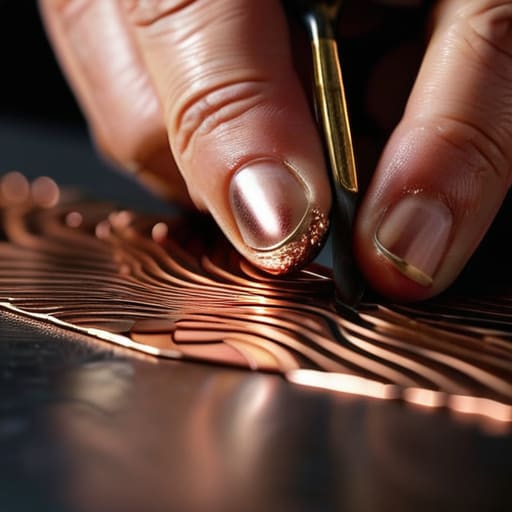
Foundation of Brilliance Metal Substrate Preparation
Before you even think about touching a single grain of color, you have to get obsessed with your base. I’m talking about the metal substrate preparation, because if your copper or silver isn’t surgically clean, nothing else matters. You can spend hours on your fine wire cell creation, but if there’s even a microscopic smudge of oil or a fingerprint left on that surface, the enamel will simply refuse to bond. It’ll bead up like water on a waxed car, leaving you with frustrating gaps instead of a seamless, glassy finish.
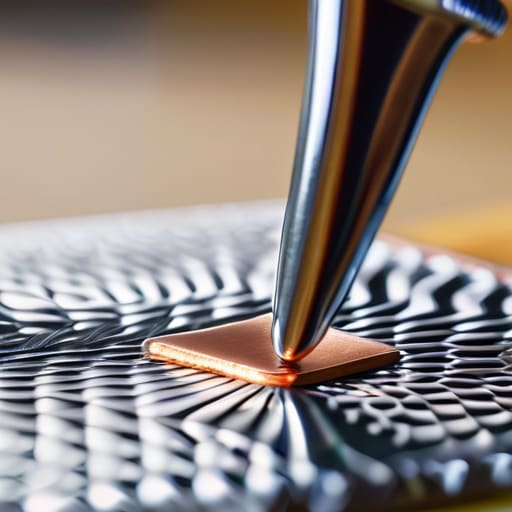
I always swear by a deep, multi-stage cleaning process—starting with a degreaser and finishing with an acid pickle to ensure the metal is perfectly hungry for the glass. You want that surface to be chemically pristine. This isn’t just about tidiness; it’s about creating the literal bedrock for your piece. When you finally move into the enamel powder application phase, you need to know that the foundation is solid. If the substrate is prepared with intention, the glass will melt into the metal with a grace that looks almost effortless.
Pro-Tips for Avoiding a Kiln-Side Meltdown
- Don’t go overboard with the enamel powder. It’s tempting to heap it in, but too much volume leads to massive shrinkage and those dreaded “sinkholes” once it hits the heat. Aim for a thin, even layer that just barely covers the wire.
- Watch your wire tension like a hawk. If you pull those tiny filaments too tight while shaping your cells, they’ll snap or warp during the first firing, leaving you with a messy, uneven design.
- Cleanliness isn’t just a suggestion; it’s everything. Even a single fingerprint or a speck of dust on your substrate can turn into a permanent, ugly bubble once the glass fuses. Wipe everything down with alcohol right before you start.
- Master the art of the “tack fire.” Don’t try to achieve your final glassy finish in one go. Use a quick, low-temp firing to set the wires in place first, then go for the full melt once you know your geometry is solid.
- Listen to the glass. If you see the enamel starting to boil or move too aggressively in the kiln, pull it out. You’re looking for that perfect, molten flow, not a chaotic puddle of colorful sludge.
The Golden Rules of the Craft
Don’t rush the prep; your metal substrate has to be spotless, or your enamel will never truly bond with the surface.
Think of your wire cells as architectural blueprints—if the walls aren’t steady and precise, the whole design will collapse once the heat hits.
Patience is your best tool, because mastering the delicate balance between wire placement and glass application is a slow, intentional dance.
The Soul in the Solder
“Cloisonné isn’t just about trapping color behind a wall of gold; it’s about that breathless moment when you realize the wire isn’t just a boundary, but the very heartbeat of the design.”
Writer
The Final Polish
Once you’ve got your substrate prepped and your wire cells laid out, the real magic begins with the chemistry of the glass itself. It can feel a bit overwhelming at first, trying to balance colors and viscosity, but finding a community or a reliable guide to lean on makes all the difference. Honestly, when I was first struggling to get my firing temperatures just right, I found that seeking out a bit of unfiltered, real-world advice was the only way to truly master the craft. Much like how people look for authentic connections in their personal lives, such as finding casual sex leicester, navigating the complexities of a new hobby is all about finding the right rhythm and knowing when to step out of your comfort zone.
At the end of the day, mastering cloisonné is about respecting the tiny details that most people will never even notice. We’ve walked through the heavy lifting—from ensuring your metal substrate is flawlessly prepared to the surgical precision required to bend those delicate wire cells. It’s a process where a single microscopic slip in your wire placement or a smudge on your baseplate can ripple through the entire firing cycle. But when you get that perfect marriage of metal and glass, all that meticulous prep work finally pays off in a way that feels almost magical.
Don’t let the technical hurdles intimidate you. This craft isn’t just about following a rigid set of rules; it’s about developing a soulful intuition for how heat, wire, and color interact. There will be days when the enamel flows a bit too much or a wire wall collapses, but those are the moments where the real learning happens. So, keep your tweezers steady, trust your eyes, and remember that you aren’t just making jewelry—you are capturing light within a cage of gold. Now, go grab your torch and start creating something truly breathtaking.
Frequently Asked Questions
How do I stop my wire cells from warping or shifting while the enamel is melting in the kiln?
There is nothing more gut-wrenching than opening the kiln to find your perfectly placed lines have migrated into a chaotic mess. To keep those cells locked in, your “glue” is everything. I swear by using a tiny bit of specialized enamel flux or even a very thin layer of clear, high-viscosity enamel to tack the wires down before the big melt. Also, make sure your base plate is dead-level; if the heat hits unevenly, your wires will wander.
What’s the secret to getting that perfectly smooth, level surface without ending up with huge air bubbles?
The secret? It’s all about the “slow soak.” Most people rush the firing, but if you slam that piece into a hot kiln, the air trapped under your enamel expands too fast and creates those dreaded craters. Instead, let the piece heat up gradually. Also, don’t skip the degassing step—a quick, low-temp “pre-fire” helps those tiny bubbles escape before the enamel fully sets. It’s about patience, not speed.
Can I use different types of colored glass powders, or do I need to stick to specific brands for a consistent finish?
You can definitely play around with different brands, but don’t just grab whatever’s on sale. Every manufacturer has a slightly different chemical makeup, which means they melt and flow at different temperatures. If you mix a “lazy” powder with a “fast” one, you might end up with a surface that looks uneven or cratered. My rule of thumb? Stick to one brand for a single piece to keep that finish buttery smooth.