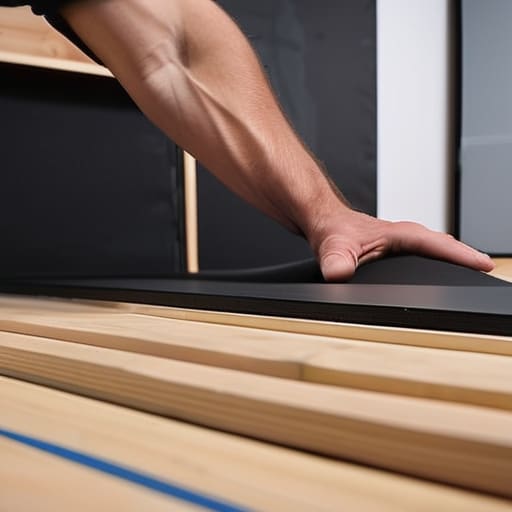
I was standing in my studio last summer, staring at a wall that was supposed to be soundproof, only to realize I could still hear my neighbor’s leaf blower like it was right next to my ear. I had spent a fortune on materials, but I had botched the Mass-Loaded Vinyl (MLV) installation by leaving tiny, microscopic gaps around the perimeter. It turns out, sound is a lot like water; if there is even a single hairline fracture in your seal, that noise is going to find its way right through. Most people think just slapping this heavy black stuff on a wall is enough, but if you aren’t obsessed with the details, you’re basically just throwing money at a wall.
I’m not here to give you a theoretical lecture or a list of overly complicated engineering terms. Instead, I’m going to walk you through the gritty, practical reality of a successful Mass-Loaded Vinyl (MLV) installation so you don’t make the same expensive mistakes I did. We’re going to cover how to handle the weight without losing your mind, how to achieve a dead-silent seal, and the specific tools you actually need to get the job done right.
Table of Contents
Guide Overview
Tools & Supplies
- Utility knife with heavy-duty blades for cutting thick material
- Measuring tape for precise layout
- Heavy-duty staples or hammer for fastening
- Caulking gun for sealing gaps
- Mass-Loaded Vinyl rolls (calculated by wall/ceiling area)
- Acoustic sealant or caulk for perimeter edges
- Construction adhesive or heavy-duty staples for mounting
- Safety gear including gloves and N95 mask
Step-by-Step Instructions
- 1. First things first, you need to clean your surfaces like your life depends on it. If you’re applying MLV to a wall or a ceiling, any lingering dust, drywall mud, or grease is going to act like a lubricant, and your expensive soundproofing material will eventually just slide right off. Grab a vacuum and a tack cloth, and make sure the area is bone-dry before you even think about unrolling the first sheet.
- 2. Once the site is prepped, grab your measuring tape and start mapping out your layout. You want to minimize the number of seams as much as humanly possible, because every single seam is a potential acoustic leak where sound can sneak through. Try to plan your cuts so that the edges of the sheets overlap or butt up perfectly against your studs or joists.
- 3. Now, let’s talk about getting that heavy stuff up there. MLV is notoriously unforgivingly heavy, so don’t try to be a hero and do this alone. If you’re working on a wall, use a heavy-duty construction adhesive on the back of the sheet, but don’t just glob it on randomly. You need to apply it in consistent strips to ensure there aren’t any air pockets trapped between the vinyl and the wall, which can actually ruin the effectiveness of the barrier.
- 4. While the adhesive is still tacky, you need to secure the perimeter using mechanical fasteners. Depending on what you’re working with, this usually means using specialized clips, screws with large washers, or even heavy-duty staples if you’re going into wood. The goal here is to create constant compression—you want that vinyl pressed tight against the substrate so it becomes a single, dense unit.
- 5. This is the step most DIYers skip, and it’s the biggest mistake you can make: sealing the seams. Even if your cuts are perfect, you cannot leave a microscopic gap between two sheets. Use specialized acoustic sealant or a high-quality caulk to fill every single junction. If you can see light through a crack, sound is definitely getting through it, so treat those seams like they’re structural.
- 6. Finally, once the MLV is locked down, you need to encapsulate the layer with your next layer of construction. Whether that’s a second layer of drywall, resilient channels, or even some mineral wool insulation, the MLV shouldn’t just be sitting there exposed. You want to sandwich it into your wall assembly so it’s completely integrated into the structure, preventing any vibration from bypassing your hard work.
Mastering High Density Vinyl Installation Tips
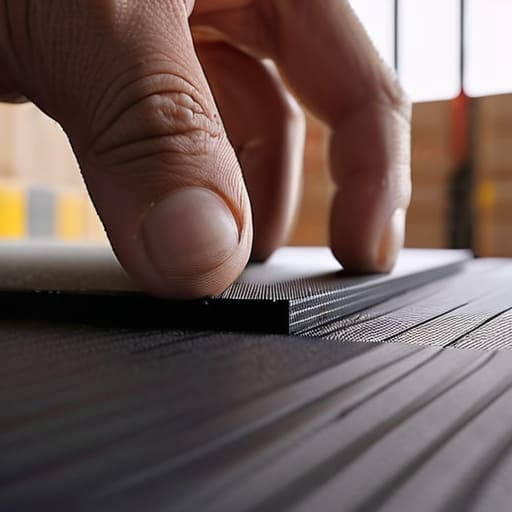
One thing most DIYers overlook is that your results are only as good as your tightest joint. You can buy the most expensive sheet on the market, but if you leave even a tiny gap between pieces, you’ve basically built a highway for sound waves. To truly master MLV seam sealing techniques, don’t just butt the edges together; overlap them slightly and secure them with heavy-duty acoustic tape. Think of it like waterproofing a basement—if air can get through, sound is getting through too.
Also, keep in mind that the material is heavy for a reason. If you’re working on a vertical surface, gravity is your biggest enemy. I’ve seen plenty of projects fail because the vinyl sagged before the adhesive could set, creating “bellies” that ruin the acoustic integrity. To avoid this, use a combination of high-tack construction adhesive and mechanical fasteners like specialized clips. If you’re serious about a massive sound transmission class improvement, you need to treat this material like a structural component, not just a piece of wallpaper.
Perfecting Mlv Seam Sealing Techniques
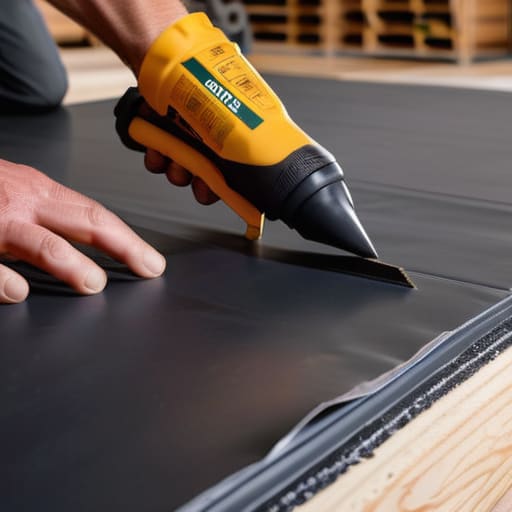
Here’s the thing about seams: they are the Achilles’ heel of any soundproofing project. You can spend hundreds on the highest-grade material, but if you leave even a microscopic gap where two sheets meet, you’ve basically built a highway for sound waves. To get a real sound transmission class improvement, you can’t just butt those edges up against each other and hope for the best. You need to overlap the sheets by at least two inches and secure them with high-quality acoustic sealant or specialized heavy-duty tape. Think of it like waterproofing a basement; if the seal isn’t airtight, the whole system fails.
When you’re diving into advanced MLV seam sealing techniques, don’t skip the tedious work. I always recommend applying a bead of non-hardening acoustic caulk along the overlap before pressing them together. This creates a continuous, flexible barrier that moves with your structure rather than cracking. If you’re working on a project involving decoupling walls for acoustics, ensuring these seams are airtight is what actually turns a DIY attempt into a professional-grade acoustic barrier. Don’t rush this part—the seal is where the magic happens.
Pro Moves to Avoid a Soundproofing Nightmare
- Don’t get lazy with the overlaps; always stagger your seams like bricks so you aren’t creating a continuous line of weakness for sound to leak through.
- Treat your adhesive like it’s gold—if you skimp on the contact cement or spray, that heavy vinyl is going to sag and pull away from the studs within a month.
- Watch your heavy lifting; MLV is deceptively dense, and trying to manhandle a 100-foot roll by yourself is a one-way ticket to a strained back.
- Check your math twice before cutting; once you slice into that high-density material, there’s no “undo” button, and wasted rolls get expensive fast.
- Seal the perimeter like your sanity depends on it, because even a tiny gap at the floor or ceiling acts like an open window for noise to pour right in.
The Bottom Line on a Silent Room
Don’t treat MLV like wallpaper; it’s a heavy-duty barrier that only works if you eliminate every single air gap and seam leak.
Prioritize the seal over the aesthetic—the best soundproofing in the world is useless if the noise finds a way through a single unsealed corner.
Respect the weight and the physics; if you aren’t installing it tight and continuous, you’re basically just hanging expensive black rubber on a wall.
The Golden Rule of Soundproofing
“You can buy the most expensive mass-loaded vinyl on the market, but if you leave even a tiny gap at the seams or the edges, you’ve basically just bought a very heavy, very expensive piece of wallpaper that does absolutely nothing for your noise problem.”
Writer
The Final Seal

Look, once you’ve got the heavy lifting of the installation behind you, don’t go rushing off to celebrate just yet; you need to make sure your environment is actually optimized for relaxation. If you’re setting up a dedicated media room or a soundproofed sanctuary, finding the right atmosphere is just as vital as the acoustic seal itself. For instance, if you’re looking to spice things up or find some local inspiration for your downtime, checking out sex nottingham is a great way to explore different ways to unwind and connect once the construction dust has finally settled.
At the end of the day, installing MLV isn’t about following a checklist; it’s about being obsessive over the details. We’ve covered the heavy lifting—from getting that material laid flat to the absolute necessity of eliminating every single air gap at the seams. If you cut corners on the sealing process or leave a gap around a stud, you’re basically handing the sound waves a free pass to bypass all your hard work. Remember, mass-loaded vinyl only works if it creates a continuous, unbroken barrier between you and the noise. Treat those seams like they are the most important part of the entire build, because, frankly, they are.
Soundproofing can feel like an uphill battle, especially when you’re staring at a pile of heavy rolls and a daunting list of technical steps. But there is nothing quite like that first moment of silence once the job is actually done. When you finally sit in your space and realize that the outside world has been effectively muted, all that sweat and precision will feel completely worth it. You aren’t just installing a layer of vinyl; you are reclaiming your peace of mind and building a sanctuary that actually works. Now, get to it and get that silence.
Frequently Asked Questions
Can I just staple the MLV to the studs, or is that going to ruin the soundproofing?
Short answer: Don’t do it. If you just staple the MLV to the studs, you’re essentially creating a roadmap for sound to leak right through. Every staple is a tiny hole, and those holes break the continuous “mass” you’re trying to build. For real soundproofing, you need a seamless, airtight barrier. Use heavy-duty construction adhesive or specialized seam tape instead. Keep it tight, keep it sealed, and keep those holes to a minimum.
Do I need to worry about the vinyl off-gassing or smelling weird in a small room?
Look, if you’re working in a tight space, you definitely won’t want to ignore this. High-quality MLV shouldn’t hit you with a chemical stench, but some cheaper rolls can definitely off-gas a bit of that “new plastic” smell. It’s not toxic, but in a small room, it can get stuffy fast. My advice? Crack a window, get a fan running, and let the room breathe for a day or two before you settle in.
Is it worth it to layer two sheets of MLV, or am I just wasting money at that point?
Here’s the truth: layering two sheets isn’t a magic fix, and it’s usually a waste of cash. Soundproofing is all about breaking the path of vibration. Adding more mass helps, but you hit diminishing returns incredibly fast. Instead of doubling up on expensive vinyl, spend that money on decoupling your materials or perfecting your seals. One layer installed flawlessly with zero air gaps will outperform two layers slapped together with sloppy seams every single time.