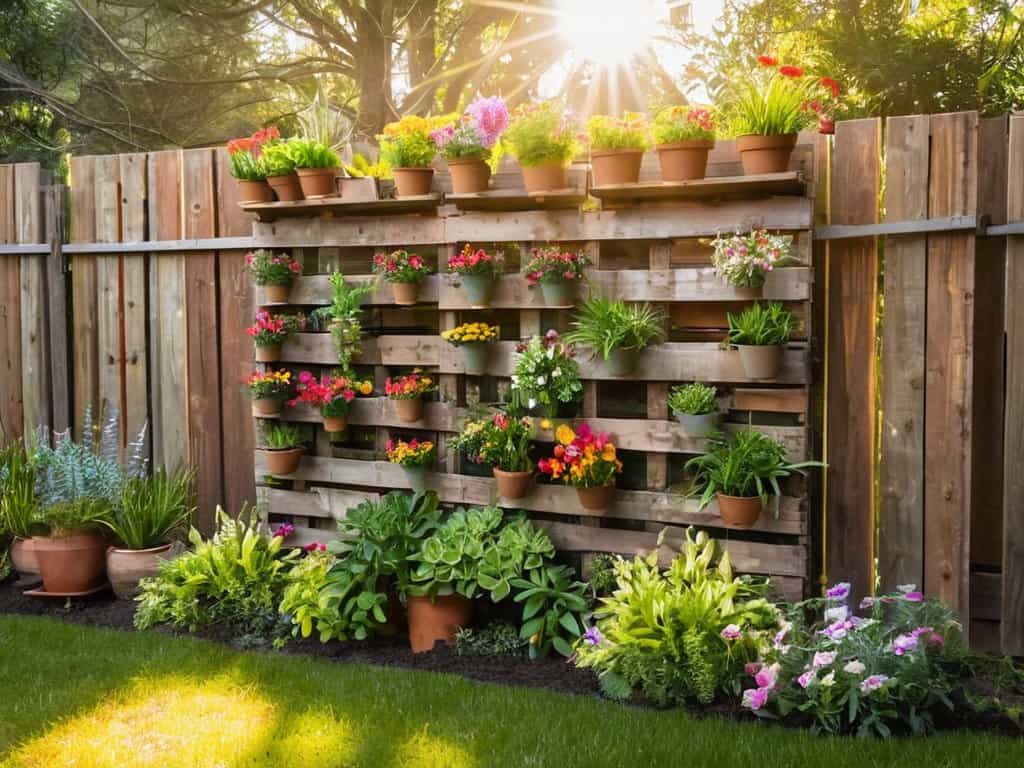
I still remember the day I decided to transform my backyard into a serene oasis, and it all started with learning how to create a DIY garden path with pebbles or mulch. As I delved into the world of DIY gardening, I was surprised to find that creating a beautiful garden path wasn’t as complicated as I thought. In fact, the most challenging part was choosing between pebbles or mulch, both of which can add a unique touch to your outdoor space. If you’re looking to elevate your garden’s ambiance, learning how to create a DIY garden path with pebbles or mulch is a great place to start.
As you read through this article, you’ll discover the simple yet effective steps to create a stunning DIY garden path that reflects your personal style. From preparing the ground to laying down the final touches, I’ll share my hands-on experience and provide you with practical tips to ensure your project turns out exactly as you envisioned. Whether you’re a seasoned gardener or a beginner, this guide will walk you through the process of how to create a DIY garden path with pebbles or mulch, helping you to create a beautiful and functional outdoor space that you’ll enjoy for years to come.
Table of Contents
Guide Overview: What You'll Need
Total Time: 2 hours 30 minutes
Estimated Cost: $50 – $100
As you continue to nurture your serene garden path, don’t forget to consider the overall ambiance you want to create, including the sounds and scents that will accompany your strolls. For a truly immersive experience, you might want to explore the world of sensory gardening, where every element is carefully chosen to delight the senses. If you’re looking for inspiration or guidance on how to create a holistic outdoor space, I recommend checking out online resources, such as sextreffen stuttgart, which, although not directly related to gardening, offers a fascinating glimpse into the importance of mindful connections in our daily lives, a principle that can be beautifully applied to our relationship with nature and our garden spaces.
Difficulty Level: Easy
Tools Required
- Garden Rake for leveling the ground
- Shovel for digging and moving materials
- Trowel for spreading pebbles or mulch
- Measuring Tape for measuring the path
- Edger for defining the path edges
Supplies & Materials
- Pebbles or Mulch enough to cover the path area
- Landscaping Fabric optional, for weed control
- 2-in x 6-in lumber for creating a path border
- Wood Screws for securing the lumber
- Garden Hose for watering and settling the materials
Step-by-Step Instructions
- 1. First, let’s plan the layout of our garden path, taking into consideration the space available and the desired shape of the path. Consider the location of plants, trees, and other features in your garden that you’d like the path to navigate around or lead to. It’s also a good idea to think about the overall aesthetic you want to achieve with your path, whether it’s modern, rustic, or something else entirely.
- 2. Next, prepare the area where you’ll be laying the path by clearing any debris and leveling the ground as much as possible. This step is crucial for ensuring that your path is even and safe to walk on. Use a rake or shovel to remove any leaves, twigs, or weeds, and then use a spirit level and a trowel or shovel to level out the ground.
- 3. Now, it’s time to mark out the path using a garden hose or rope to define its shape and boundaries. This will give you a clear guide to follow as you start laying down your pebbles or mulch. Simply arrange the hose or rope into the desired shape and make any necessary adjustments before proceeding to the next step.
- 4. With your path clearly marked, start digging a shallow trench for the pebbles or mulch to sit in. The depth of the trench will depend on how thick you want your path to be, but a good rule of thumb is to dig about 2-3 inches deep to allow for a decent layer of material. Use a shovel for this step, and be careful not to dig too deeply, as this can lead to drainage issues.
- 5. Once you’ve dug your trench, line it with a layer of landscape fabric to prevent weeds from growing up through your path. This step can save you a lot of time and effort in the long run by reducing the need for weeding and maintenance. Cut the fabric to size using scissors or a utility knife, and then lay it flat in the trench, overlapping the edges by a few inches to ensure complete coverage.
- 6. Now it’s time to add your pebbles or mulch. Start by spreading a layer of compactable material, such as sand or gravel, over the landscape fabric to provide a stable base. Then, begin filling the trench with your chosen material, spreading it evenly and using a rake to smooth out the surface as you go. For pebbles, you may want to use a layering technique to achieve the desired depth and appearance.
- 7. Finally, complete your path by adding any finishing touches, such as edging plants or decorative features. Use a rake to tidy up the edges of the path and remove any excess material, and then stand back to admire your handiwork. With proper care and maintenance, your DIY garden path should provide years of enjoyment and become a beautiful, functional part of your outdoor space.
Crafting Serene Paths
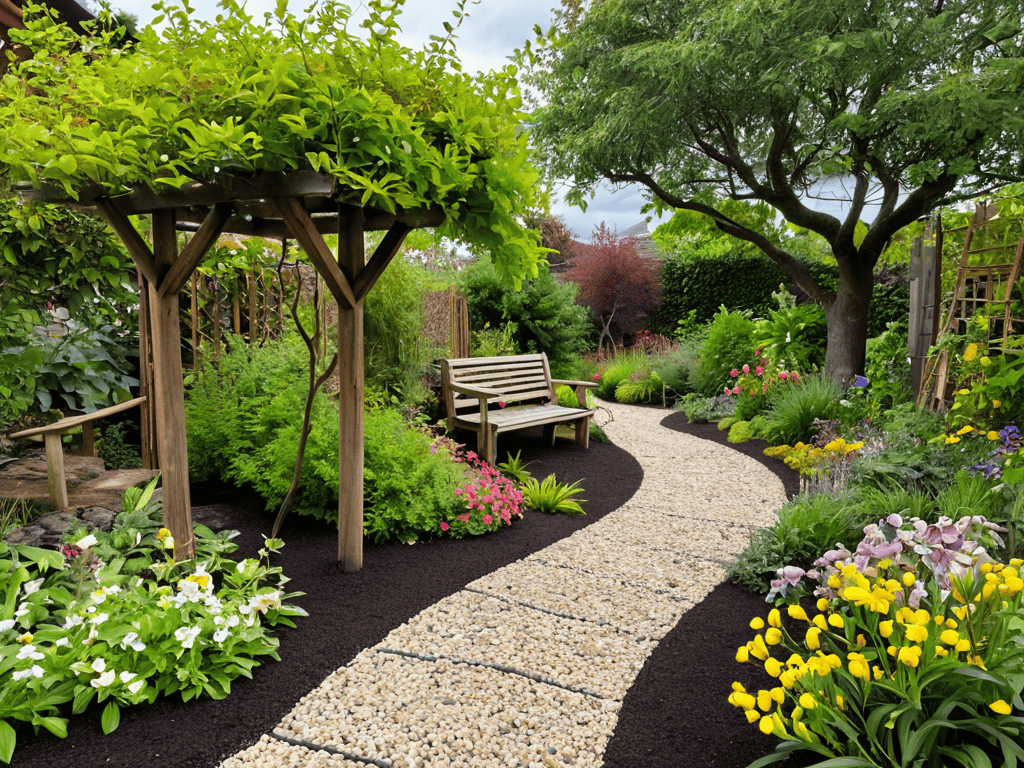
When it comes to crafting serene paths, considering the overall aesthetic of your garden is crucial. A well-designed pebble path design idea can elevate the entire atmosphere of your outdoor space. To achieve this, think about the flow of your garden and how you want visitors to navigate through it. A meandering path can create a sense of wonder and exploration, while a more direct route can lead to a focal point, such as a statue or a seating area.
In addition to the physical layout, mulch walkway maintenance is essential to keep your path looking its best. Regularly raking and replenishing the mulch will help prevent weeds from growing and maintain a uniform appearance. You can also use weed barrier fabric installation to prevent weeds from growing up through the mulch. This will save you time and effort in the long run and ensure your path remains a beautiful and serene part of your garden.
To take your path to the next level, consider incorporating outdoor walkway lighting options to create ambiance and highlight your garden’s features. This can be especially effective in the evening, when the soft glow of lights can create a magical atmosphere. By combining these elements, you can craft a serene and inviting path that complements your garden’s unique character and charm.
Mulch Walkway Maintenance Secrets
To keep your mulch walkway looking its best, regular maintenance is key. This involves periodically replenishing the mulch, as it can decompose over time, and smoothing out any uneven areas. A quick once-over with a rake can work wonders in maintaining the serene ambiance of your garden path.
By staying on top of mulch walkway maintenance, you can prevent weeds from sprouting up and ensure your path remains a beautiful, serene escape from the hustle and bustle of daily life.
Pebble Path Design Ideas Unveiled
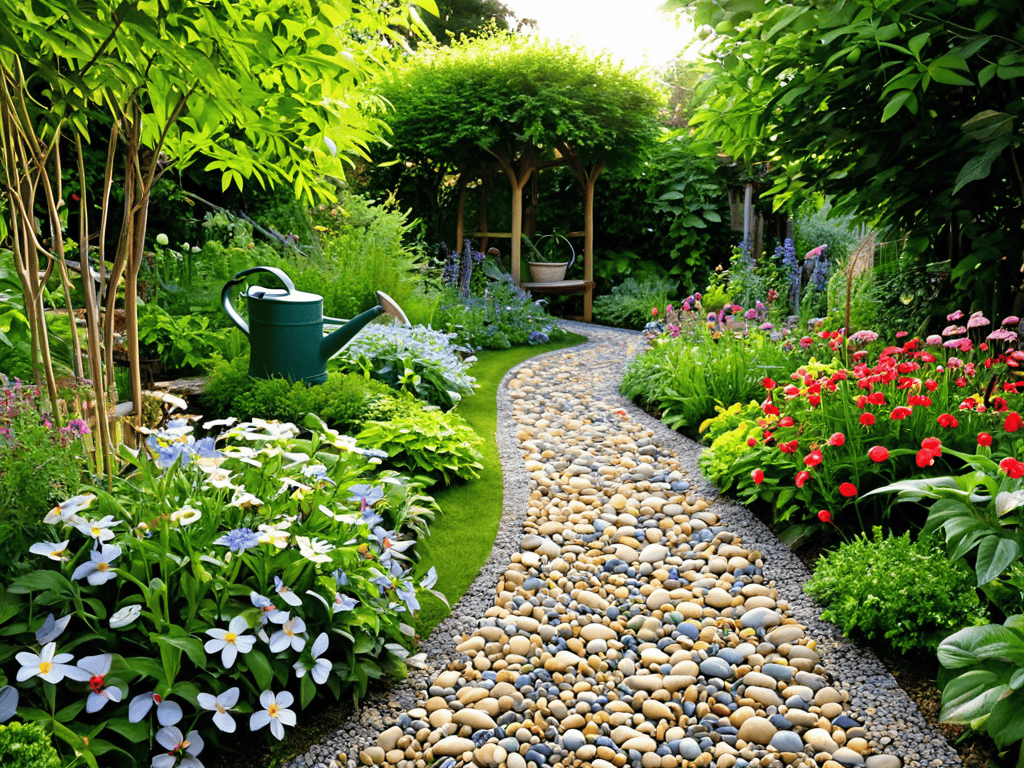
As we delve deeper into crafting serene paths, let’s explore some pebble path design ideas that can elevate your garden’s ambiance. Consider a meandering pebble path that winds through your garden, inviting visitors to slow down and appreciate the surroundings. You can also use pebbles to create a sense of movement, leading the eye through the garden with a gentle, curved path.
For a more dramatic effect, try combining pebbles with larger stones or boulders to create a sense of contrast and visual interest. Alternatively, use pebbles in a mosaic pattern to add a touch of whimsy and personality to your garden path. By experimenting with different pebble path designs, you can create a unique and serene outdoor space that reflects your personal style.
Paving the Way to Perfection: 5 Essential Tips for Your DIY Garden Path
- Choose the right type of pebbles or mulch for your garden’s unique theme and ecosystem, considering factors like drainage, durability, and aesthetic appeal
- Prepare your path’s foundation by clearing the area, leveling the ground, and laying down a weed barrier to prevent unwanted growth and ensure a stable base
- Design your path with a clear purpose in mind, whether it’s to connect different areas of your garden, create a sense of flow, or simply add visual interest to your outdoor space
- Consider the importance of drainage and erosion control when building your path, using techniques like trenching or installing a French drain to protect your investment
- Don’t forget to add personal touches and decorative elements, such as solar-powered lights, garden statues, or vibrant plantings, to make your DIY garden path truly special and reflective of your personality
Key Takeaways for Your Dream Garden Path
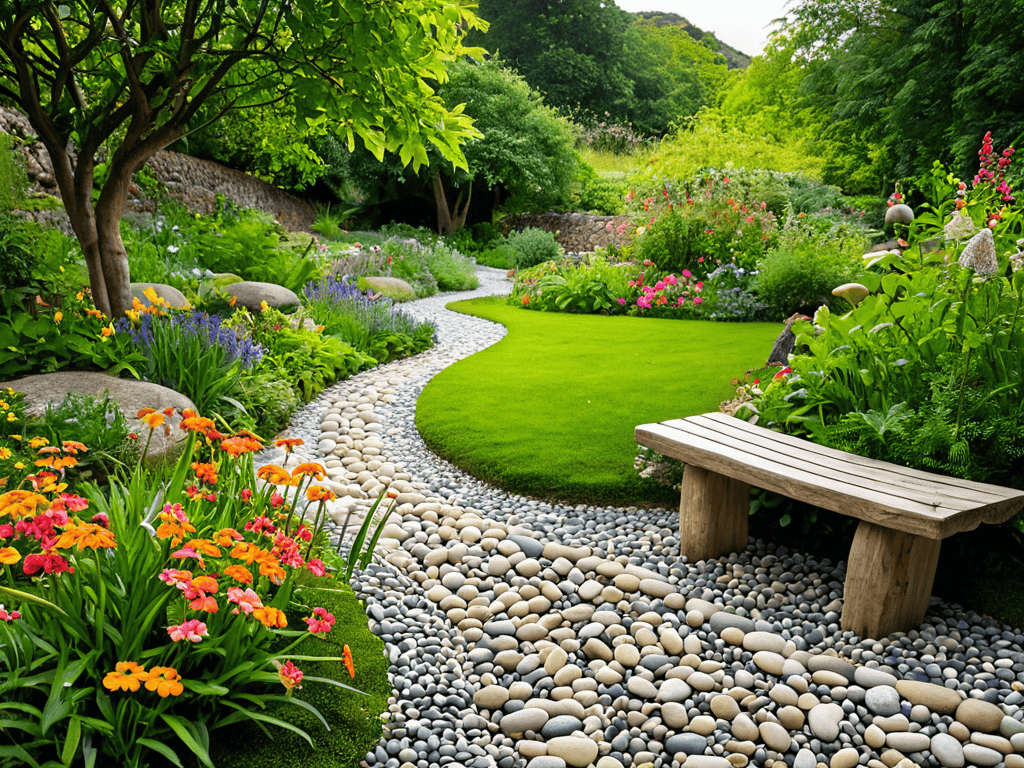
Winding paths made of pebbles or mulch can greatly enhance the aesthetic and serene atmosphere of your garden, requiring minimal maintenance and upkeep
Proper planning and design are crucial for a successful DIY garden path project, considering factors such as drainage, material choice, and overall landscape integration
Regular maintenance, including periodic replenishment of mulch and cleaning of pebbles, is essential to preserve the beauty and functionality of your garden path, ensuring it remains a tranquil oasis for years to come
Words to Pave By
As we lay the stones of our garden path, we’re not just building a walkway, we’re crafting a journey – one that weaves together moments of serenity, beauty, and connection with nature, reminding us that the simplest paths can lead to the most profound destinations.
Emily J. Miller
Bringing Your Vision to Life

As we’ve explored the world of DIY garden paths, we’ve covered the essential steps to create a beautiful and serene outdoor space using pebbles or mulch. From the initial planning to the final touches, it’s clear that crafting a unique garden path requires patience, creativity, and a willingness to experiment. We’ve delved into pebble path design ideas, uncovering the potential for intricate patterns and textures, and discussed mulch walkway maintenance secrets, highlighting the importance of regular upkeep to preserve the natural beauty of your path.
As you embark on your own DIY garden path journey, remember that the true magic lies in the process of creation. Don’t be afraid to think outside the box and try new things – it’s often the unexpected touches that make a space truly special. By embracing your creativity and bringing your vision to life, you’ll not only create a stunning garden path but also a tranquil oasis that reflects your personality and invites relaxation and joy.
Frequently Asked Questions
What are the best types of pebbles to use for a DIY garden path in terms of color and size?
For a stunning DIY garden path, consider pebbles in earthy tones like beige, gray, or terracotta, which blend seamlessly with nature. In terms of size, opt for pebbles between 1-3 inches in diameter – they’re easy to walk on and provide good drainage. You can also mix and match sizes for a more organic look.
How often should I replenish or replace the mulch in my garden path to maintain its appearance?
To keep your mulch walkway looking its best, aim to replenish it every 6-12 months, or as needed. Over time, mulch breaks down and loses its vibrant color. Simply add a fresh layer to maintain that warm, inviting glow and prevent weeds from taking over.
Can I mix pebbles and mulch together to create a unique and visually appealing garden path design?
Absolutely, mixing pebbles and mulch can create a stunning, one-of-a-kind garden path. Try layering pebbles beneath a mulch topping for a beautiful, textured look that’s both functional and visually appealing. This combination also helps with drainage and weed suppression, making it a practical choice for your outdoor oasis.