I still remember the first time I attempted to build my own DIY furniture – it was a messy, frustrating experience that left me questioning my life choices. But what really got my blood boiling was the plethora of online guides that promised “easy” and “effortless” results, only to deliver confusing instructions and unrealistic expectations. The truth is, building your own furniture takes time, effort, and patience – but the sense of pride and accomplishment you get from seeing your project come to life is unparalleled.
In this article, I’ll cut through the noise and share my honest, no-nonsense advice on how to get started with DIY furniture. You won’t find any fancy jargon or unrealistic promises here – just practical, step-by-step guidance on how to choose the right materials, design your project, and bring it to life. Whether you’re a seasoned woodworker or a complete beginner, I’ll show you how to create beautiful, functional pieces that will make your friends and family green with envy. So, if you’re ready to get your hands dirty and unleash your inner carpenter, keep reading – I’ve got you covered.
Table of Contents
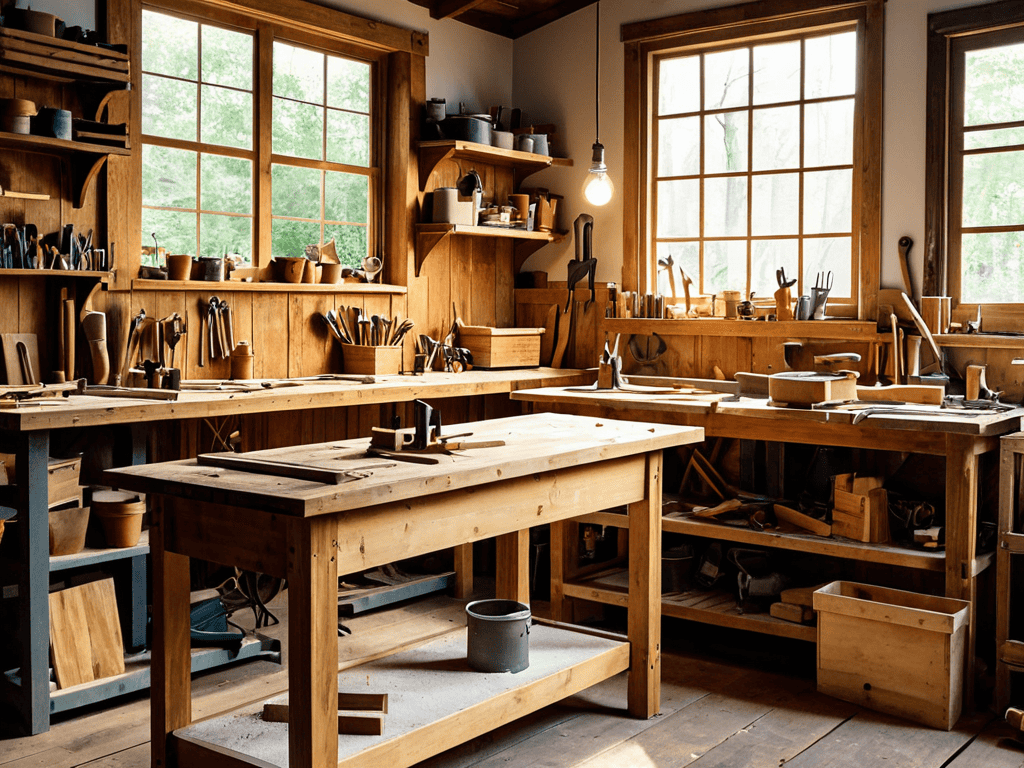
Guide Overview: What You'll Need
Total Time: 2 hours 30 minutes
Estimated Cost: $50 – $100
Difficulty Level: Intermediate
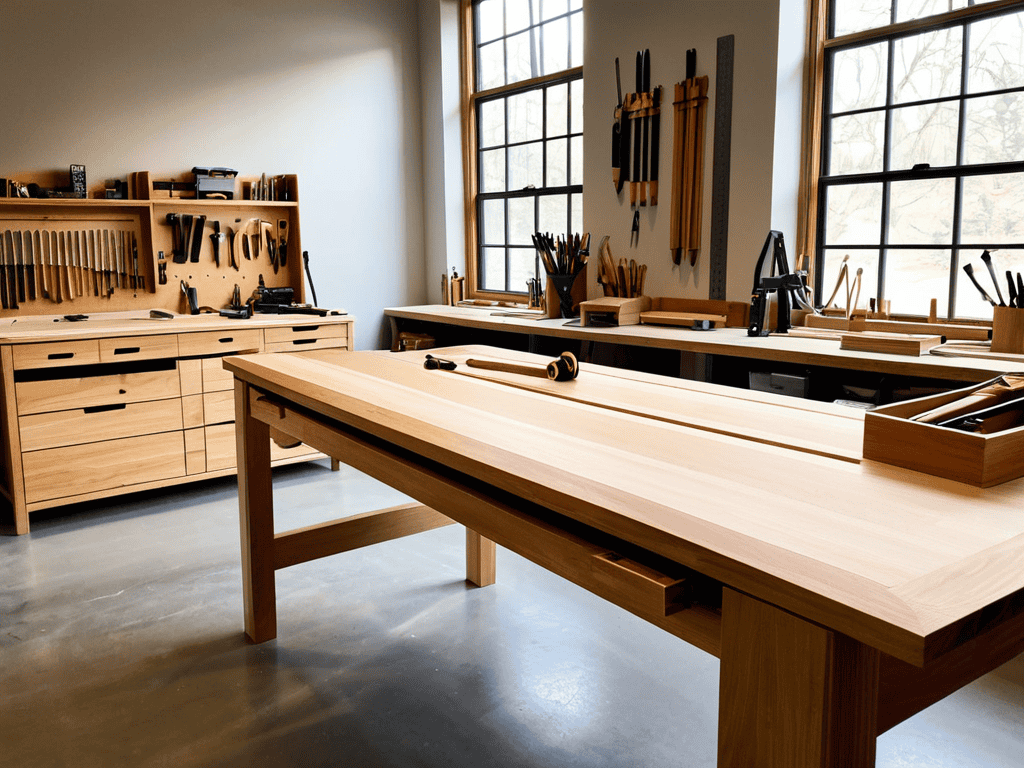
Tools Required
- Circular Saw (for cutting lumber)
- Drill Press (for precise drilling)
- Sander (for smoothing out wood surfaces)
- Tape Measure (for accurate measurements)
- Level (for ensuring level installation)
- Clamp (for holding pieces together)
- Hammer (for tapping pieces into place)
- Pencil (for marking measurements)
- Square (for ensuring square corners)
Supplies & Materials
- 2-in x 4-in lumber (for frame construction)
- 3/4-in plywood (for shelving and tabletops)
- Wood glue (for bonding wood pieces)
- 2 1/4-in wood screws (for assembling frames)
- 1 1/4-in wood screws (for attaching shelving and tabletops)
- Wood filler (for filling gaps and holes)
- Sandpaper (for smoothing out wood surfaces)
- Paint or stain (for finishing and protecting the wood)
- Polyurethane (for applying a clear coat)
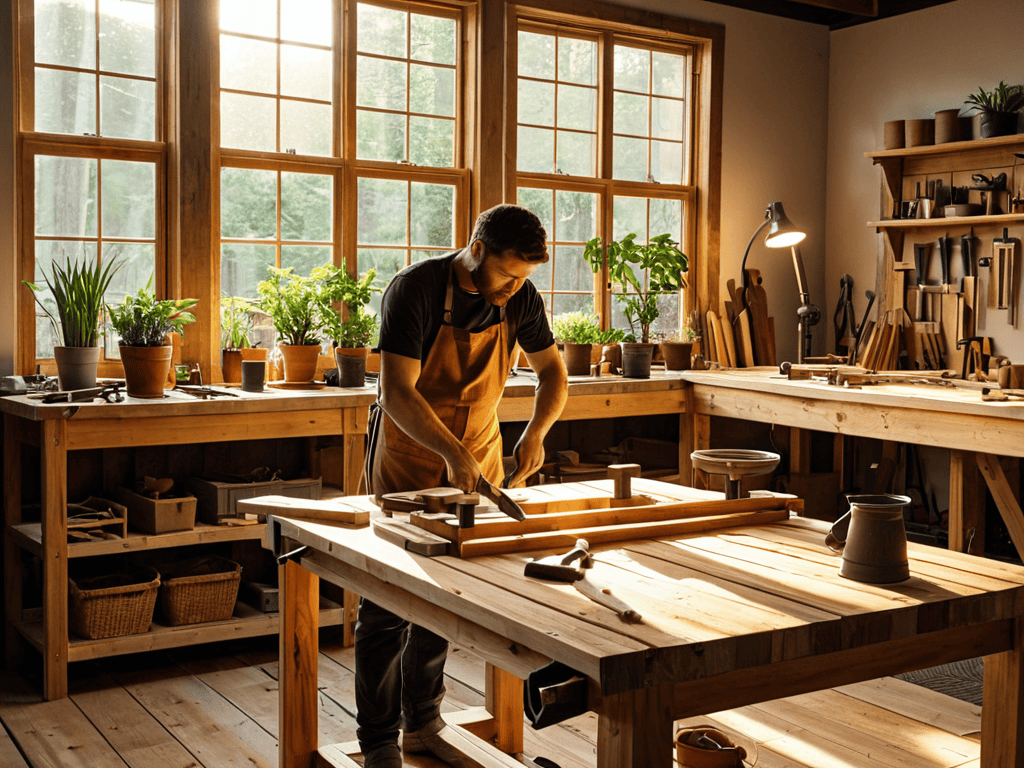
Step-by-Step Instructions
- 1. First, gather your materials and tools, because having everything you need in one place will save you a ton of time and frustration in the long run. Make a list of the specific types of wood, screws, nails, and any other hardware you’ll need for your project, and try to stick to it as much as possible.
- 2. Next, prepare your workspace by clearing out a large, flat area where you can work on your project without any distractions or obstacles. Cover your work surface with a protective layer, such as a drop cloth or old sheets, to prevent any damage or stains from wood stain or paint.
- 3. Now it’s time to cut your wood into the required pieces for your project. Use a saw or a cutting tool to make precise cuts, and try to be as accurate as possible to avoid any mistakes or waste. Remember to always wear protective gear, such as safety glasses and a dust mask, when working with power tools.
- 4. After cutting your wood, it’s time to assemble the frame of your furniture piece. Use screws or nails to attach the different components together, making sure they are secure and even. Take your time and double-check your measurements to ensure everything fits together perfectly.
- 5. With the frame assembled, you can start adding the details, such as shelves, drawers, or decorative trim. This is where you can get creative and add your personal touch to the project. Use a variety of tools, such as sandpaper, drills, and hammers, to shape and attach the different components.
- 6. Once you’ve added all the details, it’s time to sand and finish your project. Use sandpaper to smooth out any rough edges or surfaces, and then apply a coat of wood stain or paint to protect the wood and enhance its appearance. Let it dry completely before applying a second coat or sealant.
- 7. Finally, install any hardware, such as knobs, handles, or hinges, to complete your DIY furniture project. Make sure they are securely attached and functioning properly, and take a step back to admire your handiwork. You should be proud of yourself for creating something truly unique and functional.
Transforming Spaces With Diy Furniture
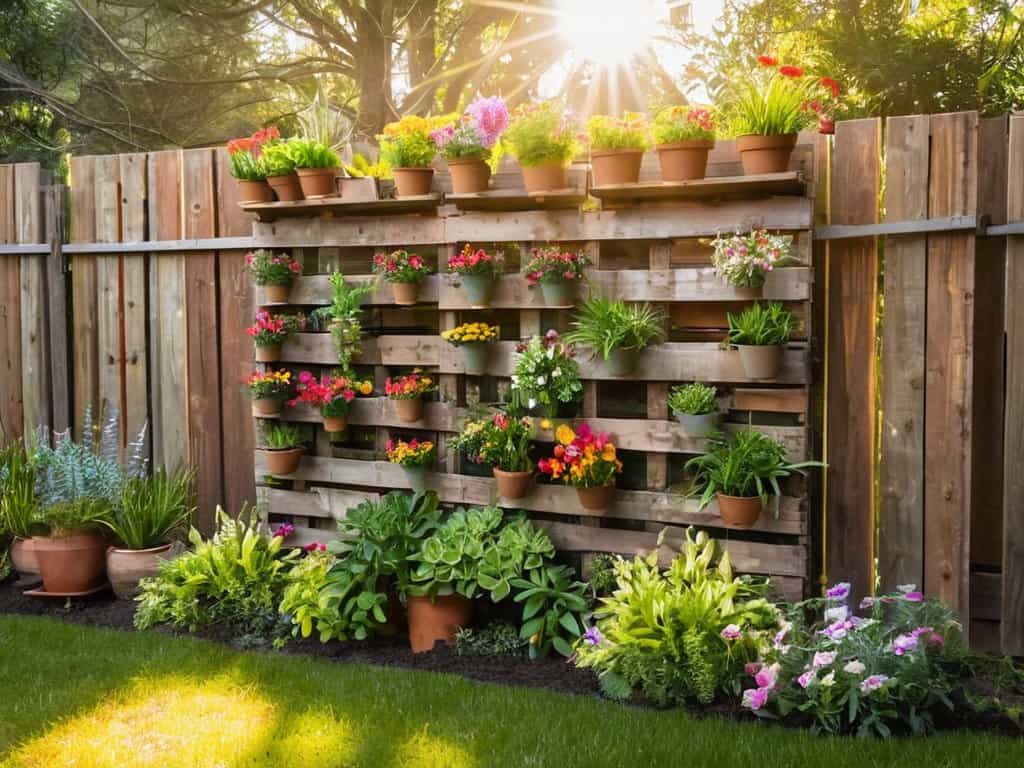
As I delve deeper into the world of reclaimed wood projects, I’m constantly amazed by the potential to breathe new life into old, discarded materials. By giving a second chance to weathered wood, you can create unique pieces that not only reduce waste but also add a touch of rustic charm to any room. This approach to furniture making is not only eco-friendly but also allows for a level of customization that mass-produced items simply can’t match.
As you continue to explore the world of DIY furniture making, you’ll inevitably come across projects that require a bit more planning and resources. That’s where online communities and forums can be a huge help – they’re often filled with experienced craftsmen who are happy to share their knowledge and provide valuable tips. For instance, if you’re looking for a platform to connect with other DIY enthusiasts or find local resources for your projects, you can check out nzgirls, which can be a great starting point for finding reliable suppliers and inspiration for your next creation.
When it comes to furniture upcycling ideas, the possibilities are endless. From transforming old pallets into functional shelves to turning vintage doors into one-of-a-kind coffee tables, the key is to think outside the box and envision the potential in everyday objects. By doing so, you can create space saving furniture solutions that are both functional and aesthetically pleasing. This creative approach to furniture design can help you make the most of even the smallest spaces.
To take your DIY projects to the next level, consider exploring custom furniture design tips and budget friendly furniture making techniques. By combining these skills with your newfound passion for DIY woodworking, you can create pieces that are not only beautiful but also tailored to your specific needs and preferences. Whether you’re a seasoned carpenter or a beginner, the world of DIY furniture making offers a wealth of opportunities for creativity and self-expression.
Budget Friendly Furniture Making Tips
When it comes to making your own furniture, it’s easy to get caught up in the excitement and overspend. But, with a little planning, you can create something amazing without breaking the bank. I’ve found that shopping during sales or using reclaimed materials can make a huge difference. Plus, getting creative with repurposed items, like turning old pallets into shelves, can add a unique touch to your space.
By being mindful of your budget and thinking outside the box, you can achieve professional-looking results without the hefty price tag. It’s all about balance – investing in quality materials where it matters, and getting crafty where it doesn’t. With a little patience and elbow grease, you can create beautiful, functional pieces that reflect your personal style, all while keeping your wallet happy.
Reclaimed Wood Projects for Beginners
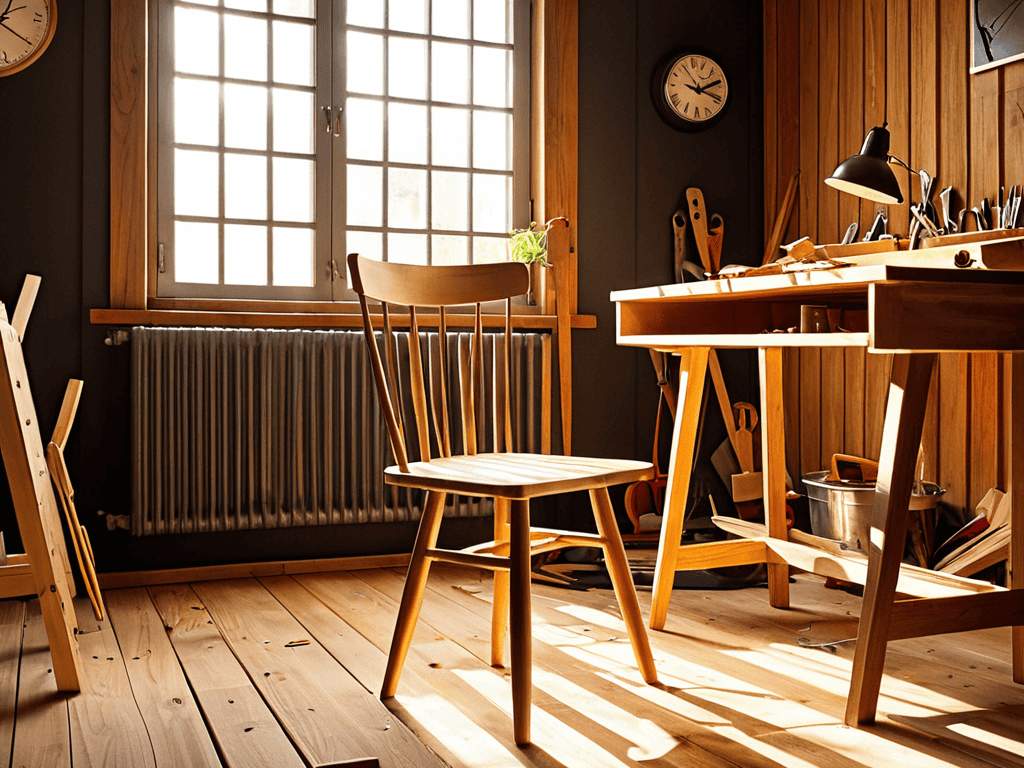
Reclaimed wood projects are a fantastic way to add character to any room. As a beginner, I love working with old pallets or wooden crates to create unique pieces. You can upcycle them into shelves, coffee tables, or even headboards. The process is not only eco-friendly, but it’s also a great way to practice your DIY skills. Plus, the end result is always full of personality and charm. With a little patience and creativity, you can turn old, discarded wood into something truly special.
Hammering Out the Essentials: 5 Key Tips for DIY Furniture Newbies
- Measure Twice, Cut Once: The Golden Rule of DIY Furniture to Avoid Costly Mistakes
- Choose the Right Tools for the Job: Investing in Quality Equipment Will Save You Time and Frustration
- Sand, Sand, Sand: The Importance of Smoothing Out Your Edges for a Professional Finish
- Get Creative with Upcycled Materials: Think Outside the Box and Give New Life to Old Furniture
- Don’t Be Afraid to Make Mistakes: They’re an Opportunity to Learn and Improve Your DIY Furniture Skills
Key Takeaways for DIY Furniture Enthusiasts
I’ve learned that with a little patience and creativity, anyone can turn old, discarded materials into unique and functional pieces of furniture that reflect their personal style
By applying a few simple budget-friendly tips and tricks, such as shopping for reclaimed wood or repurposing old furniture, you can create stunning DIY pieces without breaking the bank
Whether you’re a seasoned carpenter or a beginner, DIY furniture making is all about experimentation, taking risks, and having fun – so don’t be afraid to get your hands dirty and try something new
The Heart of DIY
There’s something profoundly satisfying about turning raw materials into something that becomes a part of your daily life – DIY furniture isn’t just about saving money, it’s about crafting a piece of yourself into every corner of your home.
Ava Morales
Embracing the Joy of DIY Furniture Making
As we’ve explored the world of DIY furniture, it’s clear that this journey is about more than just saving money or increasing home value. It’s about transforming spaces with personal touches and stories. From the beginner-friendly reclaimed wood projects to the budget-friendly tips for making furniture, every step of the way offers an opportunity to learn, grow, and express oneself. Whether you’re a seasoned carpenter or a novice with a hammer, the process of creating something with your own hands is incredibly rewarding.
So, as you embark on your own DIY furniture adventures, remember that it’s okay to make mistakes and that every piece is a reflection of you. Don’t be afraid to experiment, to try new things, and to get your hands dirty. The true beauty of DIY furniture lies not just in the end result, but in the journey itself – the journey of creation, of learning, and of turning a house into a home that truly feels like yours.
Frequently Asked Questions
What are some essential tools I need to get started with DIY furniture making?
Honestly, you don’t need a ton of fancy tools to get started. The basics are a table saw, drill press, and some good old-fashioned hand tools like a hammer and tape measure. Invest in a solid sander too, it’s a game-changer for smoothing out wood. These will get you building in no time!
How do I ensure my DIY furniture projects are sturdy and long-lasting?
To ensure my DIY projects are sturdy and long-lasting, I always prioritize using high-quality materials and following tried-and-true construction methods. I’m obsessed with researching the best techniques and testing them out myself – it’s all about finding that perfect balance between form and function!
Can I really save money by building my own furniture, or will it end up costing me more in the long run?
Honestly, I’ve saved a ton by building my own furniture – the cost of materials is often way less than buying something similar in a store, and it’s a great way to repurpose old items too. Plus, you can always find affordable alternatives or shop during sales to make it even more budget-friendly.